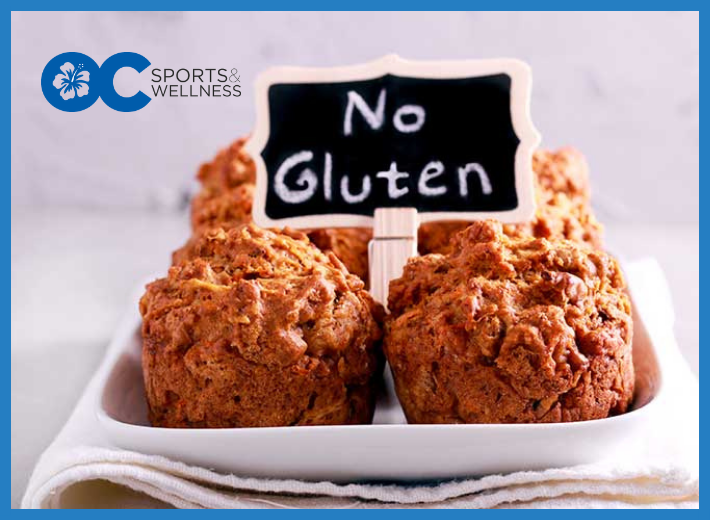
Gluten-free baked goods can be as crave-worthy as their gluten-containing counterparts — you just have to know some of the more important rules when it comes to baking in this style. So if you’re planning on baking gluten-free, take some advice from an expert to ensure you’re set up for success. Questions about the benefits, or whether it could be right for you? We are here!
When I began baking without gluten, way back in 1998, the words “gluten-free” caused confusion for most folks. I’d get questions all the time, “What’s gluten?” “Is that, like, low-carb?” Now the term “gluten-free” is printed on most restaurant menus and emblazoned on packages all up and down grocery store aisles.
While the popularity of gluten-free eating has soared, gluten-free baking can still trip up even the most advanced baker — especially since doughs made without gluten tend to mix up heavier and thicker. The first time a baker sees a gluten-free yeast dough, they might peer into the mixing bowl and wonder, Wait, is it supposed to look like that?
To make the whole process easier and more enjoyable, here are my best tips for baking without gluten.
1. Start where you are.
If you’re new to baking, gluten-free baking can feel overwhelming. Start simple. Pancakes, chocolate chip cookies, brownies — these baked goods come together easily and allow you to get a feel for ingredients that you might like (or not!).
Some gluten-free flours are great and some are not. You might love one brand of gluten-free flour and dislike the taste and texture of another. This is totally normal. By starting with simple recipes, you’ll quickly learn the ins and outs of gluten-free baking — with delicious results.
2. Follow the recipe.
Tinkering with recipes is always enticing — swap this for that, or add a pinch more of something you love — but with baked goods, even a simple swap change or omitted ingredient can spell disaster.
With gluten-free baking, the interplay between ingredients always seems even more delicate without a network of gluten holding things together.
Find a recipe that fits what you need. If you’re gluten-free and egg-free, find a recipe that fits that need. If coconut flour is your preferred flour, use a recipe that’s coconut flour-based (because simply swapping coconut flour for wheat flour almost always spells disaster).
Once you get a good feel for gluten-free baking, then it’s time to play.
3. Don’t just use all-purpose gluten-free flour in a yeast bread recipe.
Lining grocery store shelves are lots of gluten-free flour blends that call themselves all-purpose or cup-for-cup replacements for wheat flour. To that I say, “Ha!”
No two gluten-free all purpose flour blends are the same. They’re just that: blends. They vary greatly from brand to brand. And while many are great for things like muffins or cookies, most blends simply don’t work for yeast breads. In fact, on the back of the bag (or box) some state “perfect for non-yeasted” recipes. This annoys me. If I wasn’t a baker, I’d see something called “measure for measure” flour and expect it to work in all recipes.
Unless the recipe you’re following was specifically designed to use a commercial all-purpose flour blend, don’t expect it to work in most yeast dough recipes. (And if a recipe calls for a gluten-free flour blend, use the brand that’s called for or your results might vary greatly.)
4. Measure well.

Whether your recipe calls for measuring by weight or volume, follow good measuring practices.
If using a scale, be sure to tare (zero) it before adding each ingredient. For volume measuring of dry ingredients, spoon the flour into your measuring cup, taking care not to pack down the flour. Then quickly run a straight edge, like the back of a knife or a chopstick, over the cup.
For liquids, use a liquid measuring cup. Don’t hold the measuring cup in the air to read the lines; squat down to eye-level. Or use a cup that has slanted indicators in the side, which allows you to read from above without having to squat down.
5. Use a cooling rack.
Hot baked goods give off an incredible amount of steam. If this steam gets trapped inside a loaf of bread or cookies, they can get gummy. This gummy texture comes from the starch and xanthan gum present in gluten-free baking; both love to hold onto moisture.
Always transfer hot baked goods to a wire rack to cool completely, instead of allowing them to cool in the pan.
6. Take advantage of the freezer.
Sometimes in life you just want a cookie or a slice of bread. When you’re gluten-free, this can be a pain. Whenever you bake, save one or two extras for the freezer. This way when a craving strikes, you’ve got a stash in the freezer to help you out.
Always allow gluten-free baked goods to cool completely before you freeze, and then wrap tightly in plastic wrap and store in a plastic bag.
7. Make the foods you miss.
When I teach gluten-free baking classes, there’s always one brave participant who admits that they miss Oreos or Stouffer’s mac and cheese. They’re often embarrassed by this, as if their love for Twinkies makes them a bad person!
Be honest with yourself about the foods you actually miss. If you don’t care about bread, or just don’t like gluten-free bread, don’t waste your time making it. However, if you can’t stop at the gas station without looking longingly at powdered sugar doughnuts, try making a batch.
Not only is it fun to bake these foods, but it can also help you stick to the diet. For someone with celiac disease, 100% compliance to a gluten-free diet is the only known cure.
8. Forgive yourself.
Gluten seems to hide in the strangest of places, like some salad dressings, licorice, and butterscotch baking chips.
At some point you’re going to make a mistake. You’re going to pour wheat-based gravy all over a plate of otherwise gluten-free food. Or, if you don’t maintain a gluten-free kitchen, you might dust a cake pan with wheat flour instead of gluten-free flour.
This is especially tough for parents to hear. My heart breaks each time a parent tells me about a mistake they’ve made with their gluten-free kid. Usually they’ve used an ingredient that they thought was gluten-free but wasn’t. The pain on their face is so raw.
When you accidentally gluten yourself or a loved one, it’ll sting. Don’t be too hard on yourself. You’re doing the best you can.
9. Allow yourself to feel sad.
How do I put this delicately? I find it annoying when people claim all gluten-free foods are identical to those made with wheat. It’s simply not true. I’ve baked gluten-free for nearly two decades and while many of my recipes are identical to their wheat counterparts, some aren’t.
The biggest offenders? Pizza, baguettes, and simple saltine crackers.
Allow yourself to feel sad that some of your favorite foods are now off limits. You might never get to taste your family’s traditional Easter bread again. That’s really hard. The gluten-free diet isn’t always easy to follow. Even when you think you’ve mastered it, there are times when having to follow a gluten-free diet — like on vacation or at a wedding reception — just plain stinks.
10. Don’t always toss the flops.
If you don’t love something you made, perhaps the texture didn’t appeal to you, stop before you pitch it.
Bread can almost always be sliced, dried, and turned into breadcrumbs. If a cake doesn’t rise enough, make cake pops or cut the cake into cubes and transform it into a trifle. Even cookies don’t need to go to waste — grind them up and use them as the base for a no-bake pie crust.
My advice for gluten-free bakers is to be patient, learn from your mistakes, and, sometimes, turn cake crumbs into cake pops.
At OC Sports and Wellness, we help our patients using the principles of integrative medicine to achieve the best possible health outcomes through in-depth health assessments, testing, and lifestyle changes. Take the first step on your journey to health and prevention. Visit our Facebook page or give us a call to learn more at 949-460-9111.
Reference: [https://www.thekitchn.com/10-pro-tips-from-the-woman-who-wrote-the-book-on-gluten-free-baking-255515]


